.png?width=200&height=52&name=fedelta-pos-logo%20(1).png)
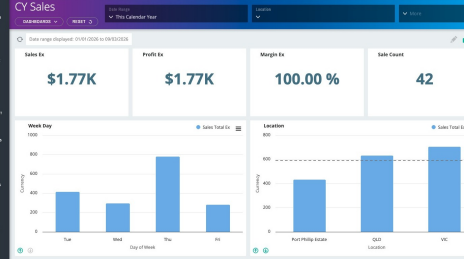
1. Navigate to your Fedelta Web Back Office. Log in with you username and password.
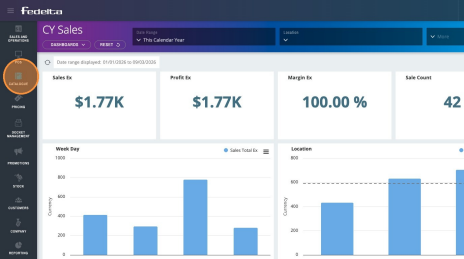
2. Click on the Catalogue menu.
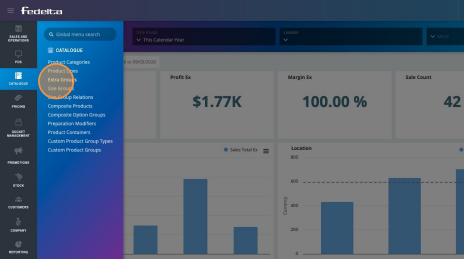
3. Click "Extra Groups"
4. Click "Add Extra Group" or choose an existing extra group to customise. 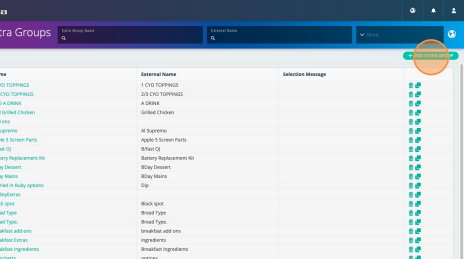
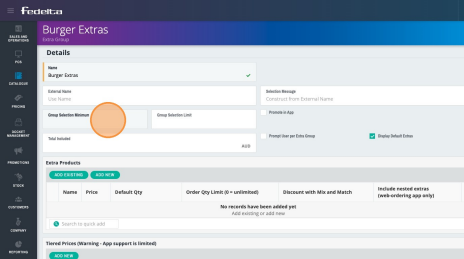
5. Give your extra group a name, and you can also choose here if you want to give your extra group a minimum or maximum limit. For instance if you wanted to create an extra group for steak temperatures, and limit your staff to only choosing one temperature per steak.
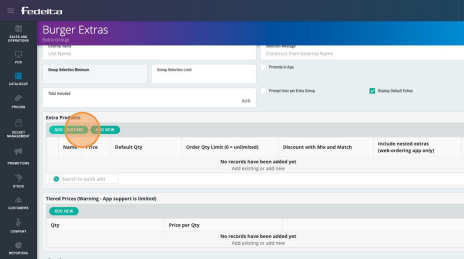
6. Scroll down to Extra Products. Click Add Existing if you already know the product line you wish to use as an extra is available, or click Add New to add a new product line in to use as an extra.
If you don't know how to add a product line in, please refer to the Product Line Basics video in the Fedelta Learning Series.
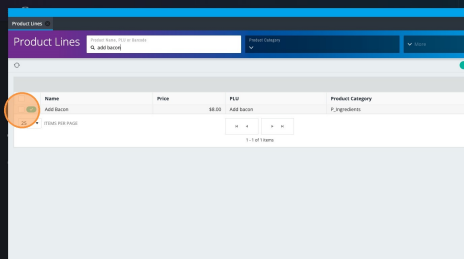
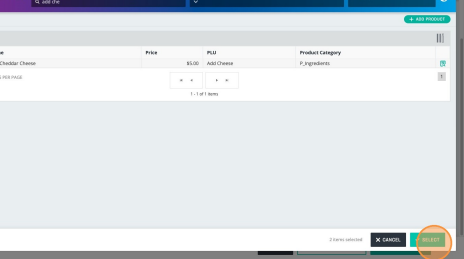
7. To locate a specific item, such as “add bacon,” use the search function to find the corresponding product line. Then click on the check box to select it.
8. Search and add multiple products to your Extras Group simultaneously. 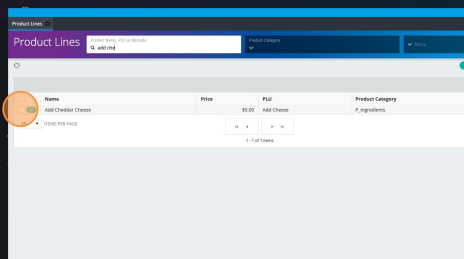
9. Once you have finished adding all of your product lines for your extras group, click "Select".
10 Update Extra Pricing
- Modify prices for product lines within an Extra Group as needed.
- Note: Changes apply only to the specific extra and do not affect the underlying product line database price.
- Default QTY refers to if you want that extra to be selected by default.
- Add extra group to save the extra group.
- Now you can add this extras group product line. If you don't know how to do this, refer to the product line basics video on the Fedelta Learning Series.
